Oiling untreated wood: How to do it right | Expert tips
Share
Oiling untreated wood: A comprehensive guide
Oiling untreated wood is a proven method to protect it, enhance its natural beauty, and increase its longevity. Unlike varnishes, which form a layer on the surface, oil penetrates the wood fibers and saturates them from within. This has several advantages:
- Protection against moisture and dirt: The oil makes the wood water-repellent and more resistant to stains and dirt.
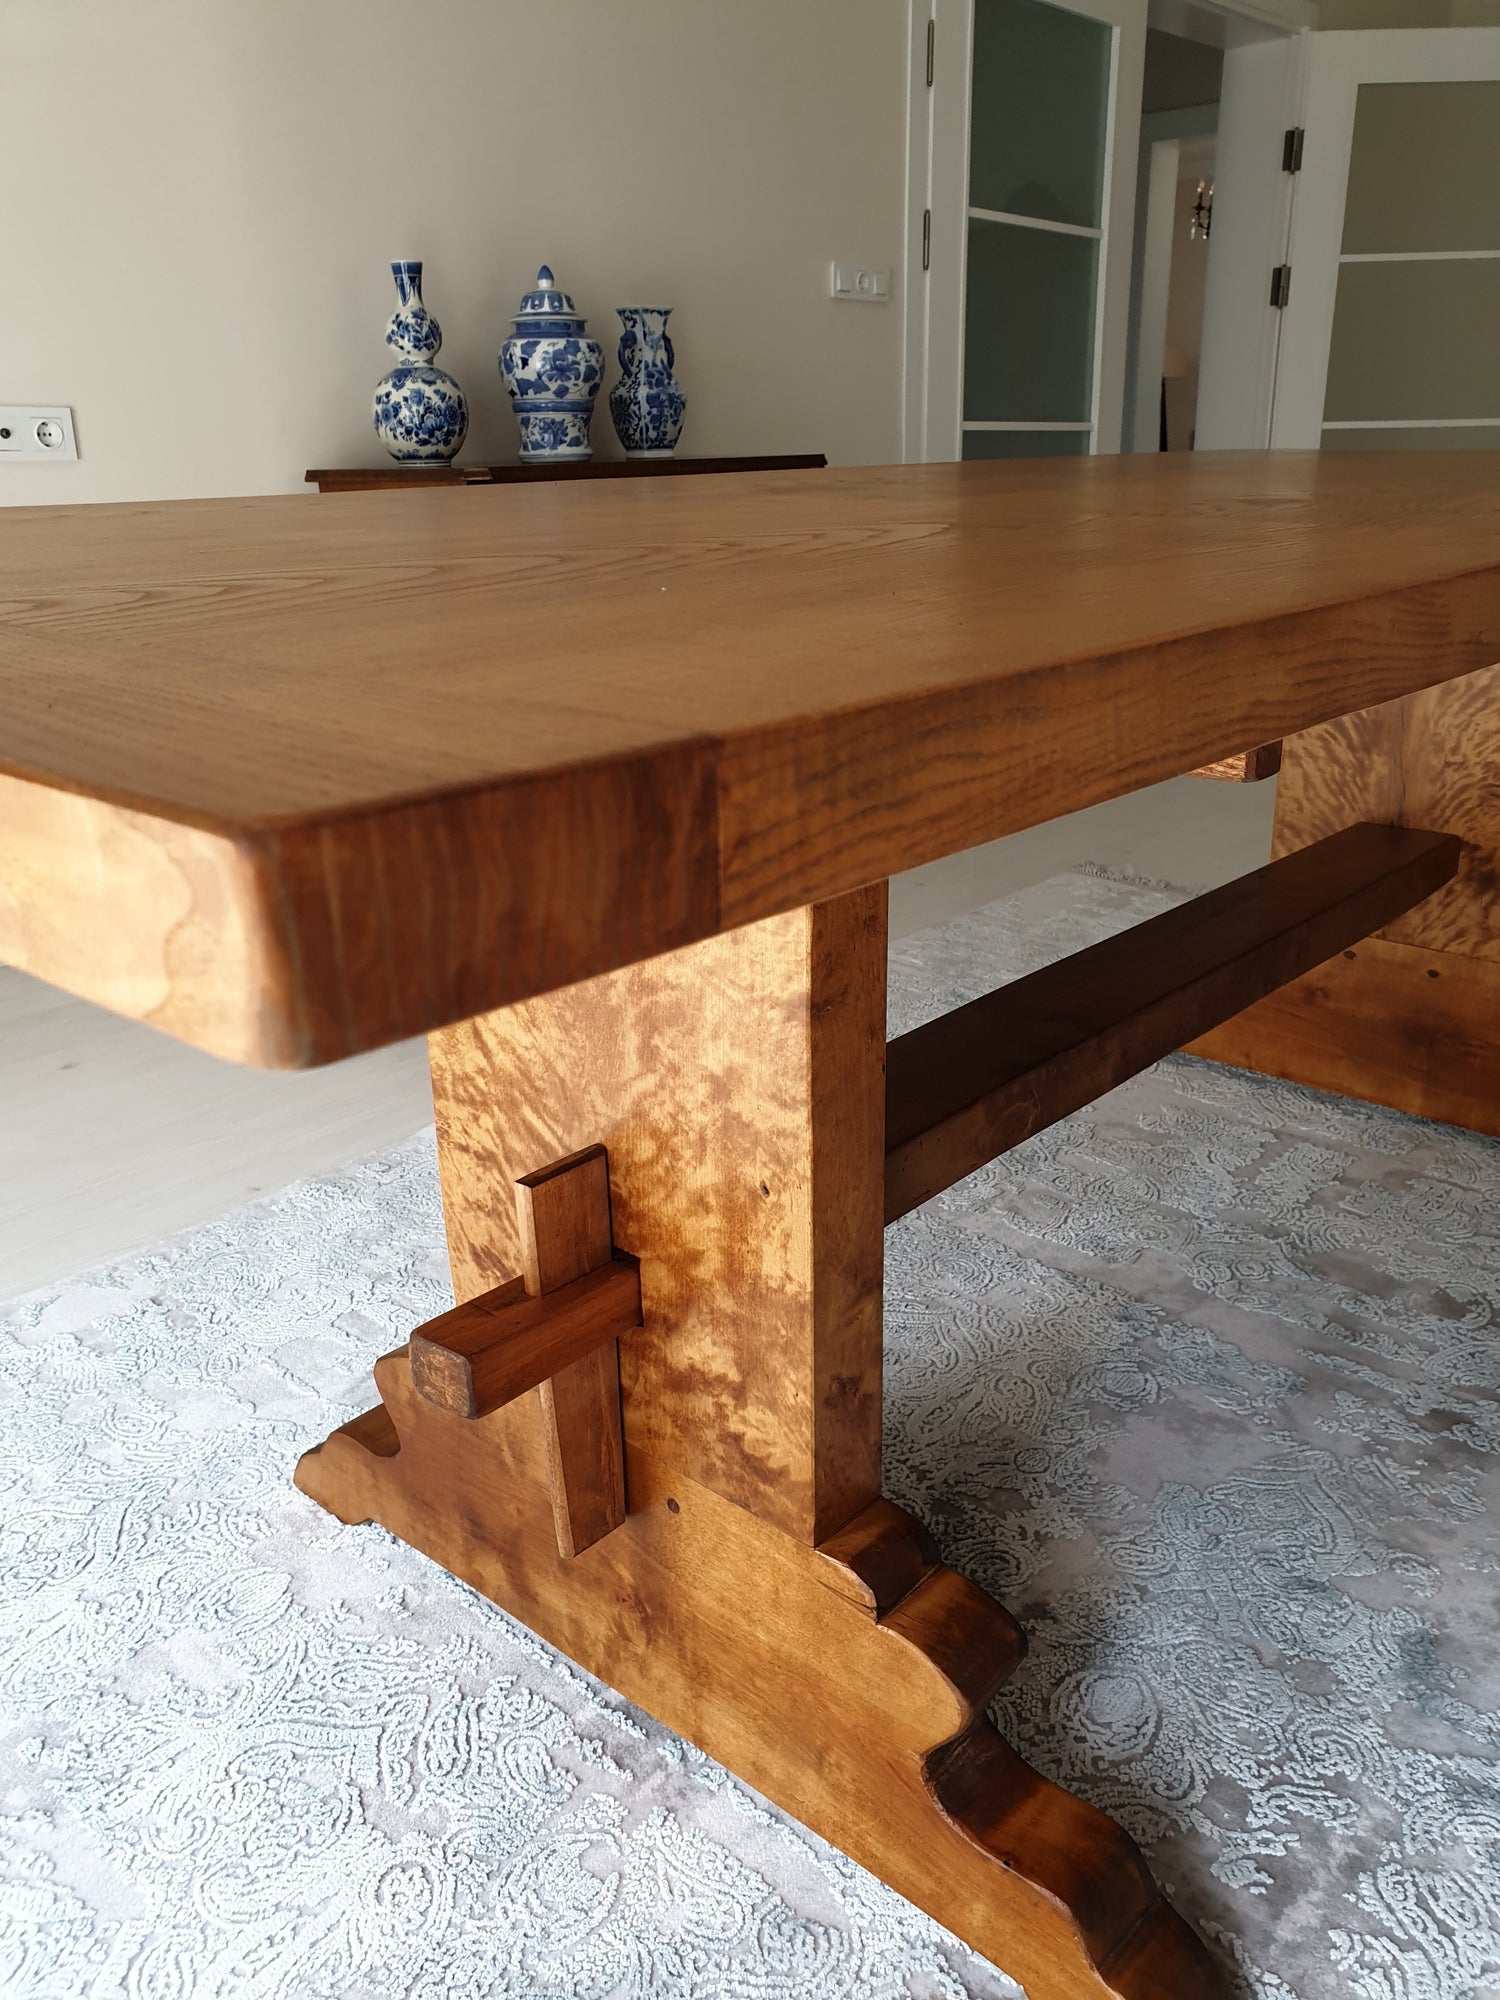
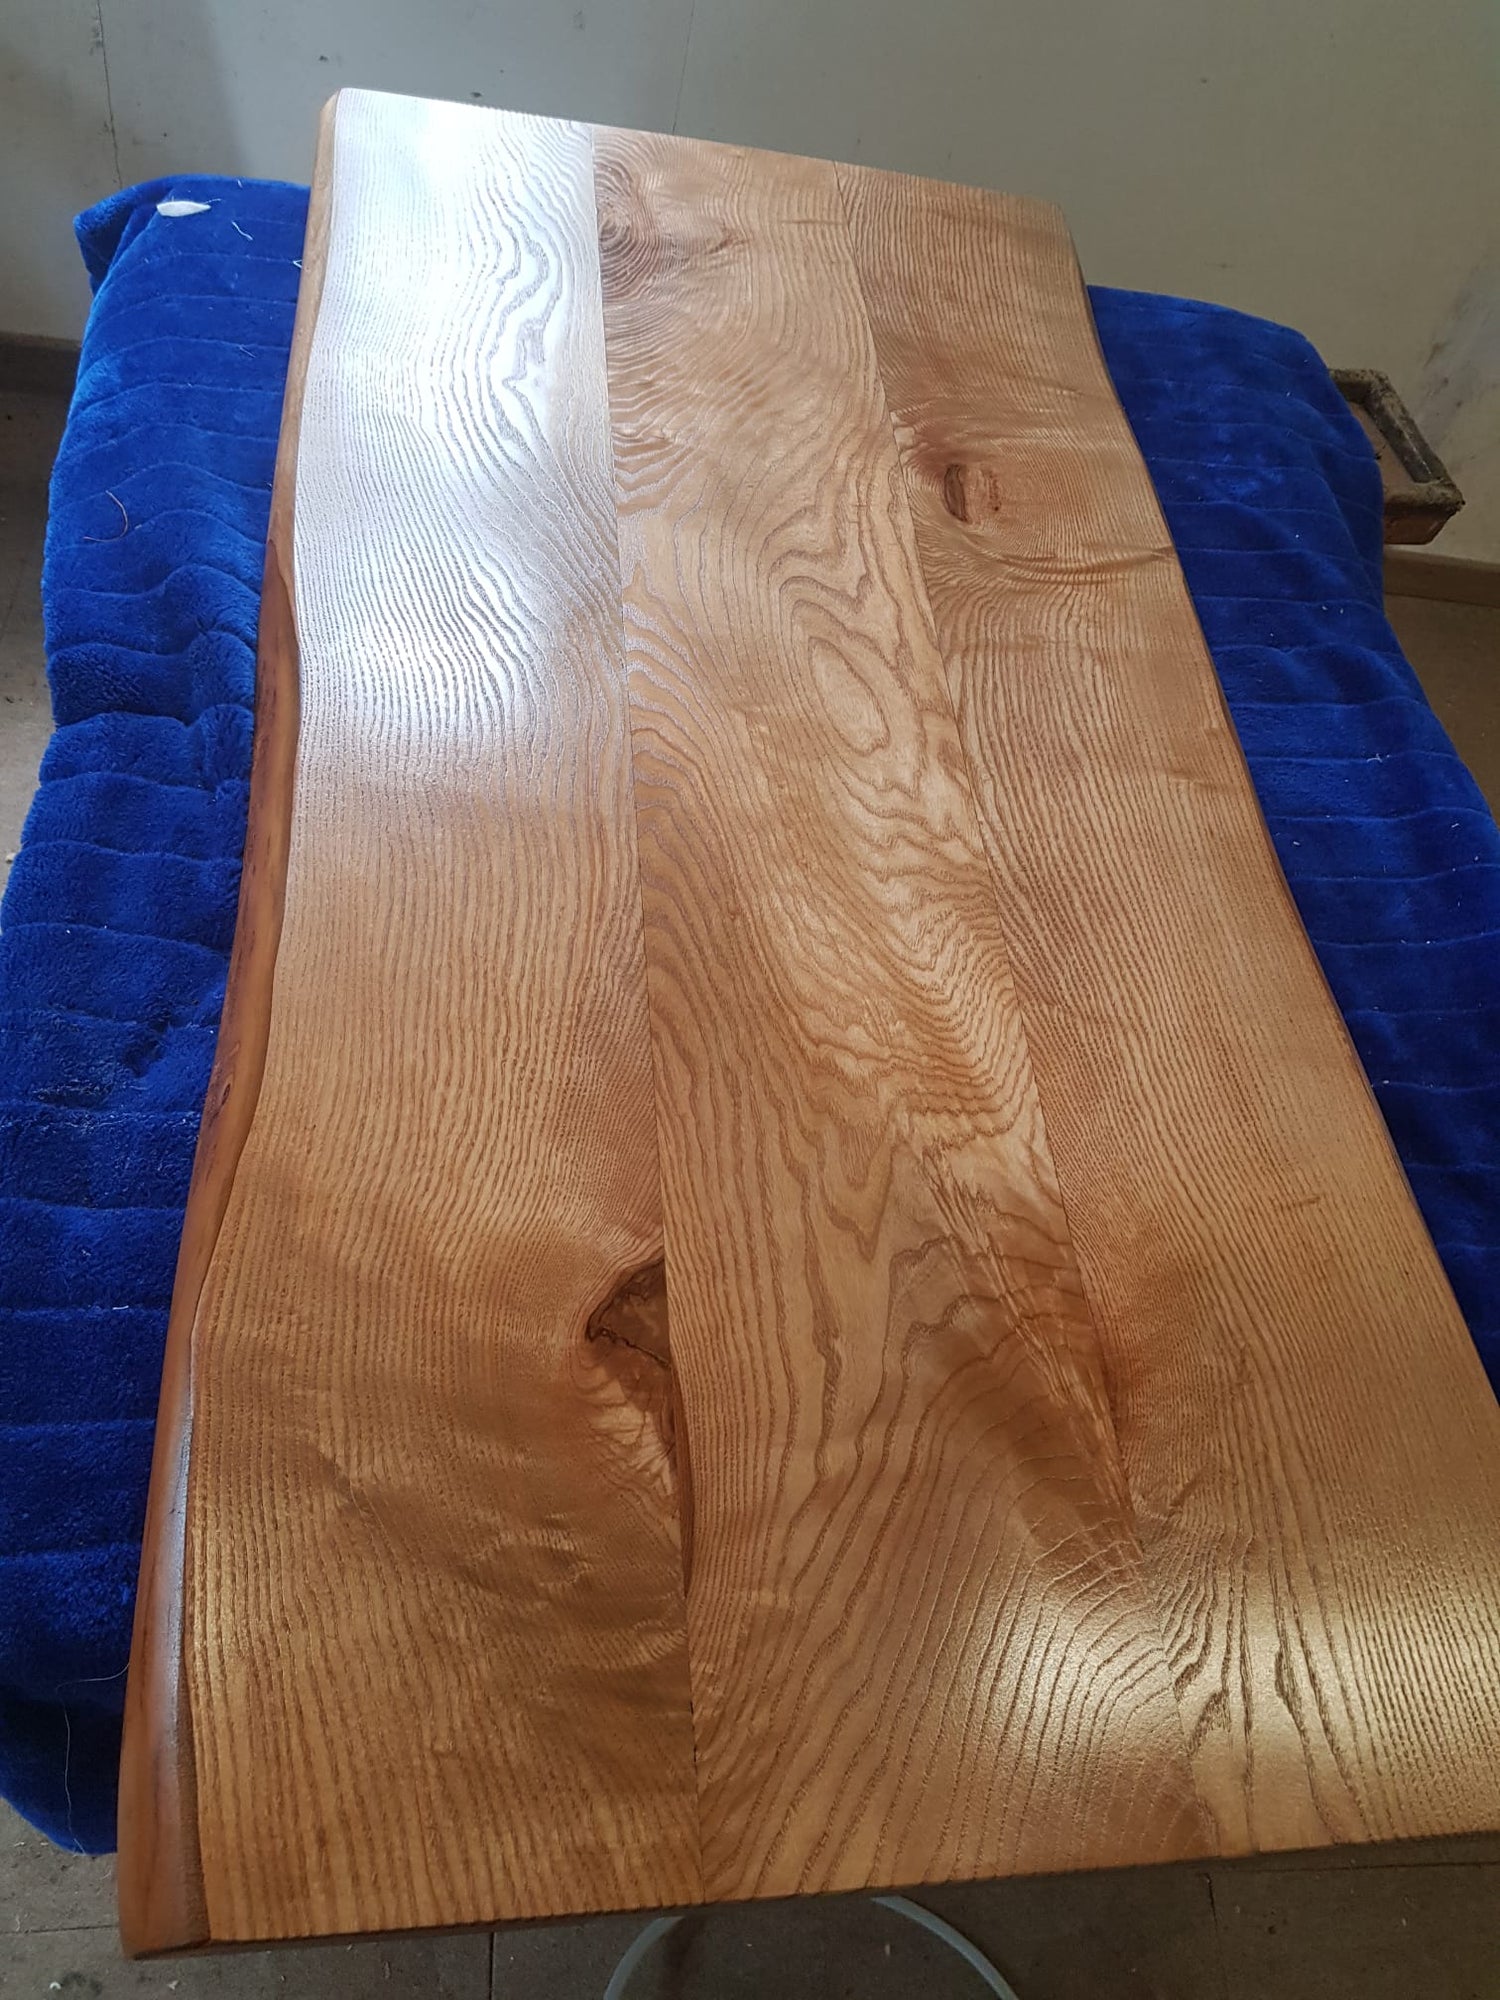
- Emphasis on the wood grain: Oil intensifies the natural color and grain of the wood, making it appear more vibrant and warmer.
- Open pores are retained: Oiled wood can continue to "breathe", which can contribute to a better indoor climate and reduces cracking due to fluctuations in humidity.
- Easy repair: Small scratches or damage can often be easily repaired by spot-oiling without having to re-treat the entire surface.
- Pleasant feel: Oiled wood often feels more natural and pleasant than varnished wood.
Step-by-step instructions for oiling untreated wood
Oiling wood isn't rocket science, but it does require care and patience. Here's a basic guide:
1. Preparing the wood
This is a crucial step for a consistent result.
- Cleaning: Ensure that the wood surface is clean, dry and free of dust, grease or old coatings.
- Sanding: Start with a coarser sandpaper (e.g., P80 or P120) to remove imperfections, then gradually work your way up to finer grits (e.g., P180 or P220 for furniture, up to P320 for very smooth surfaces). Always sand in the direction of the grain.
- Dust removal: After sanding, the sanding dust must be thoroughly removed. Use a vacuum cleaner for this and then wipe the surface with a slightly damp cloth (if necessary, with a little isopropyl alcohol or special wood cleaner). Allow the wood to dry completely.
2. Oil selection
There are various wood oils on the market that differ in their properties:
- Natural oils: Linseed oil, tung oil (China oil), or walnut oil are purely plant-based. They harden slowly and offer good protection. They are often used in mixtures.
- Hard oils/hard wax oils: These are often mixtures of oils and resins or waxes that create a more robust surface and dry faster. They are ideal for heavily used surfaces such as floors or worktops.
- Special oils: For outdoor use, there are special patio or garden furniture oils that contain UV protection and antifungal properties.
Choose an oil that is suitable for the intended use of the wood (e.g. food-safe for kitchen worktops, waterproof for bathrooms).
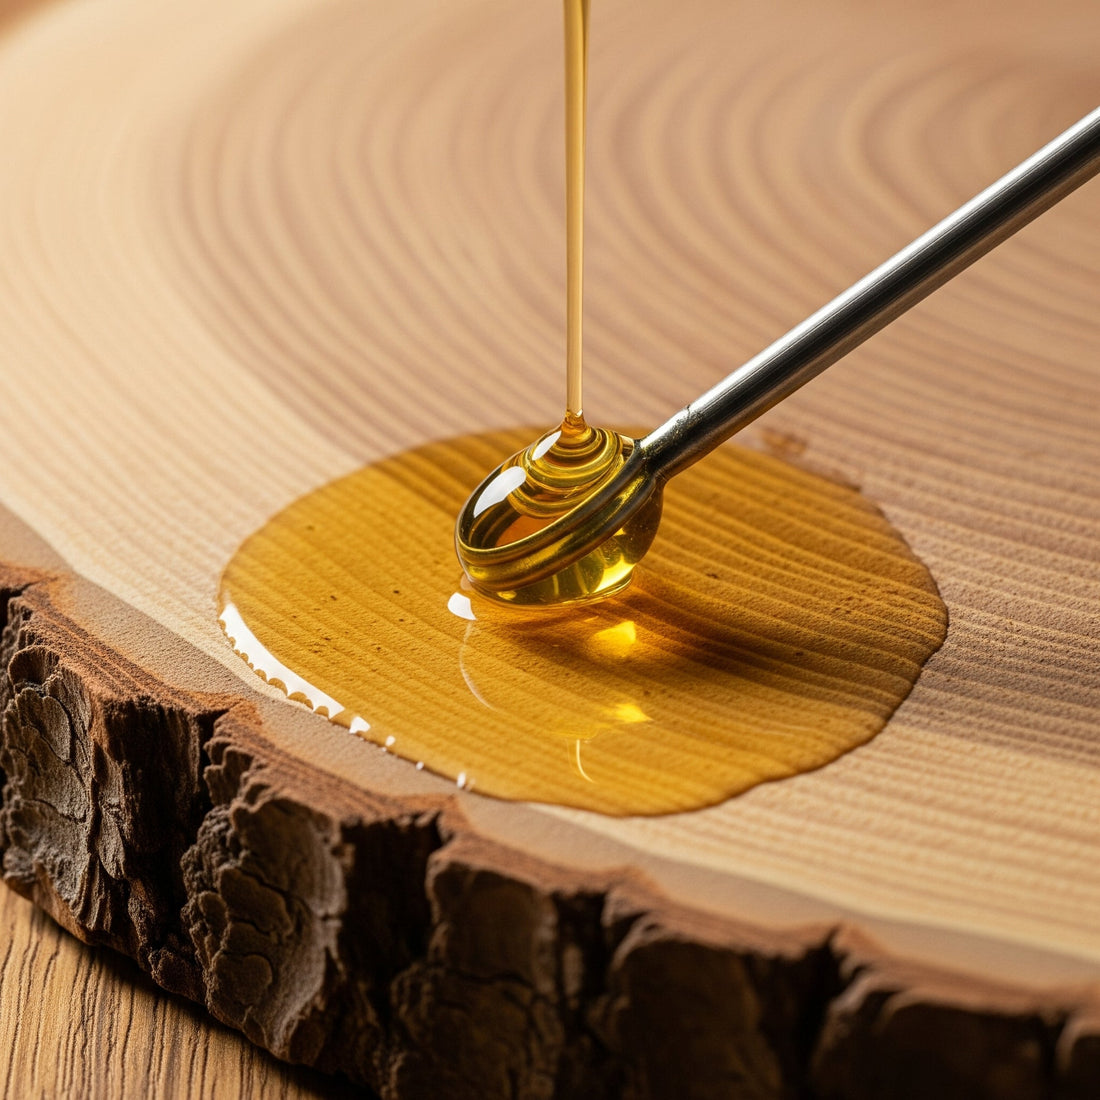
3. Applying the oil
- Apply evenly: Apply the oil thinly and evenly with a brush, roller, or lint-free cotton cloth, following the grain of the wood. Ensure there is no excess or puddles.
- Application time: Allow the oil to soak in according to the manufacturer's instructions. This can take between 10 minutes and one hour, sometimes even longer. The wood should absorb the oil.
- Removing excess oil: This step is crucial! After the application time, any excess oil that hasn't been absorbed must be completely wiped away with a clean, lint-free cloth. No oil should remain on the surface, otherwise it will become sticky or leave unsightly stains. Change cloths as soon as they become saturated.
4. Intermediate sanding (optional, but recommended)
- After the first coat and complete drying (often 12-24 hours), a light intermediate sanding with fine sandpaper (e.g., P320 or P400) or a sanding pad can be carried out. This smooths any raised wood fibers and optimally prepares the surface for the next coat. Then thoroughly remove all dust.
5. Further orders
- Repeat the application process (apply, allow to soak in, remove excess) two to three times, or as often as necessary, until the wood no longer absorbs oil and is saturated. Each coat should be completely dry before the next application (refer to the manufacturer's instructions!).
6. Curing
- Oiled wood needs time to cure. Depending on the type of oil and environmental conditions, this can take several days to weeks. During this time, the surface should be treated gently and protected from heavy use.
Important information and safety tips
Rag fire hazard
Oil-soaked cloths can spontaneously combust due to oxidation! Spread used cloths out to dry outdoors or place them in a metal bucket of water until disposal.
Protective clothing
Wear gloves and, if necessary, safety glasses. Ensure good ventilation.
test area
Always perform a test on an inconspicuous area or a scrap piece of wood to check the result and the wood's reaction to the oil.
Regular care
Depending on the level of use and the type of oil, oiled wood should be re-oiled regularly (every few months to years) to maintain protection.
Oiling wood is a rewarding task that gives it a long-lasting and natural beauty. With proper preparation and application, you can achieve impressive results.